Aluminum Trim Installation Services Overview
Visitors will learn how local contractors install aluminum trim and how to compare service options on this page.
- - Residential property owners seeking to enhance their homes with durable aluminum trim.
- - Commercial building managers looking for reliable local contractors for aluminum trim installation.
- - Contractors and service providers specializing in exterior upgrades and aluminum trim projects.
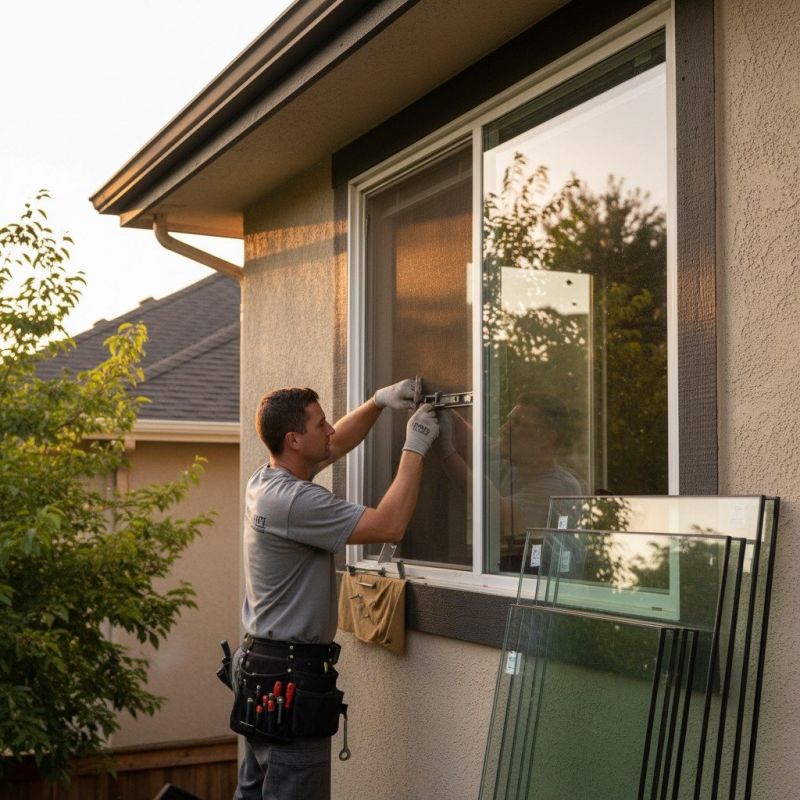
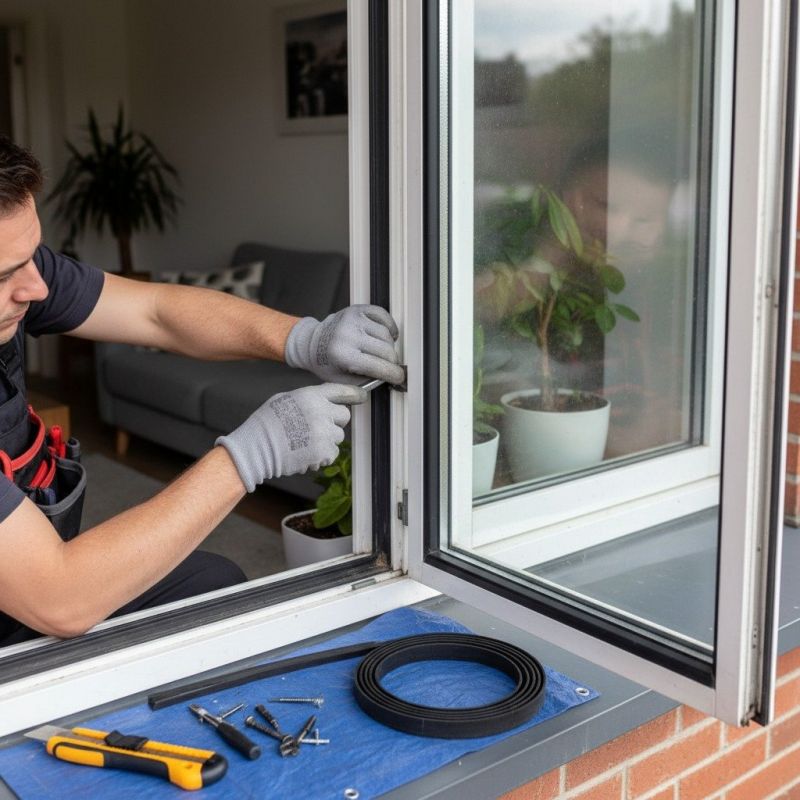

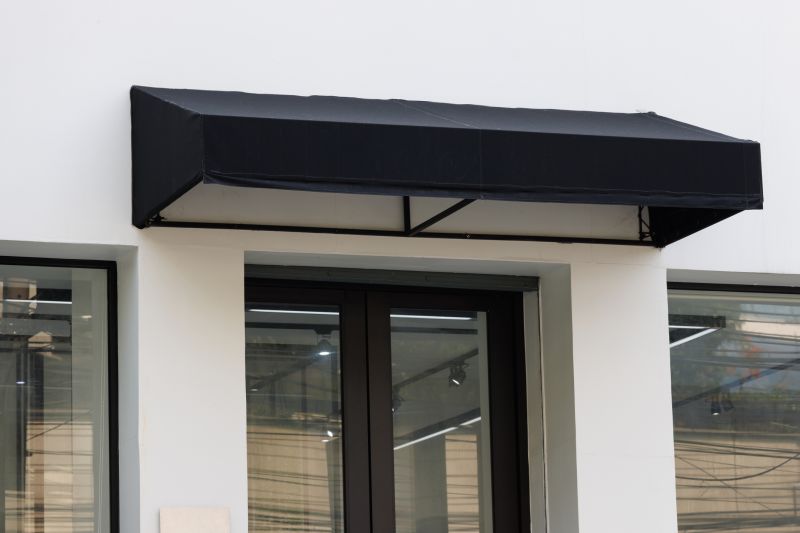
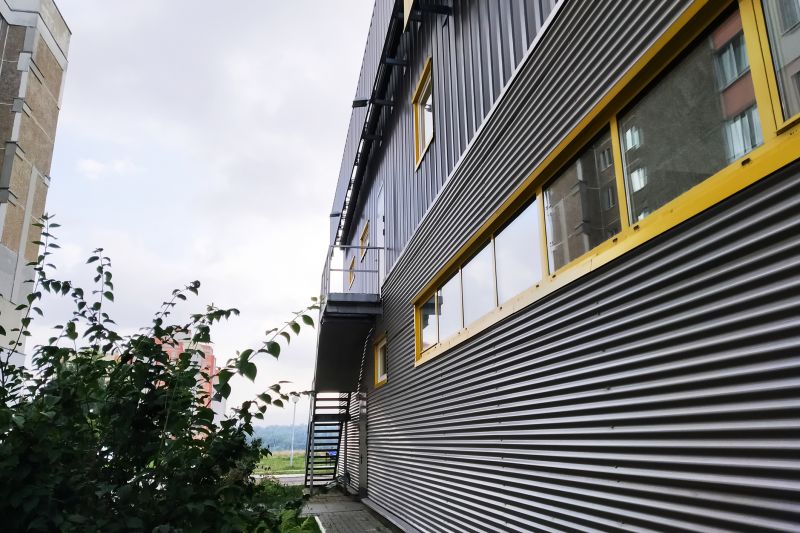
Aluminum trim installation is a specialized service that enhances the appearance and durability of building exteriors. Property owners often seek out local contractors who have experience working with aluminum materials, whether for decorative accents, window and door framing, or siding details. These professionals handle tasks such as measuring, cutting, and securely attaching aluminum trim to ensure a clean, finished look that withstands weather conditions and adds value to the property.
Connecting with qualified local service providers can help property owners find the right expertise for their aluminum trim projects. Local contractors typically offer a range of installation options tailored to different property styles and needs. By comparing available options, property owners can find experienced professionals who understand the scope of aluminum trim work and can deliver results that meet their expectations.
This guide helps homeowners understand the key aspects of aluminum trim installation to make informed decisions. It provides tips for comparing local contractors and understanding what to expect from professional services. By reviewing this information, visitors can better prepare to connect with qualified local service providers for their project.